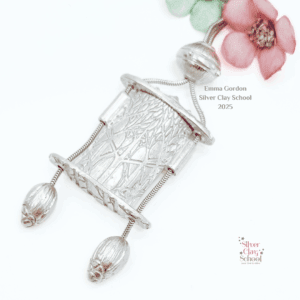
Cold Connections in Silver Clay
£75.00
Hello! Welcome to the Cold Connections in Silver Clay course. This is an exciting one, because in this course we are using mixed media to bring an extra dimension to our silver clay work. There are so many different iterations for you once you’ve completed your course. These skills will help you to add bits and pieces to your work that you might not otherwise have been able to.
Hello and welcome to the Silver Clay Cold Connections online workshop. I am so happy you’re here and I am delighted to share these three gorgeous projects with you!
This online course has been developed with the silver clay artist in mind and hopes to make this process easy!
Cold connections is a phrase used when we want to join two (or more) mediums together and we can’t use heat, such as soldering to achieve that. So, these techniques are perfect for you if you work in various mediums and want to bring them together, for example, polymer clay, plastic, base metals (I’m thinking copper and bronze), sea glass, shell or stones.
Who is this online workshop is for?
This is not a workshop for beginners. It assumes a certain level of knowledge of how to roll and texture clay and how to refine and finish a piece to a good standard. You should have a good understanding of shrinkage and how your kiln fires. If you don’t know how much your clay shrinks, then I suggest you do a test firing. As boring as that is, it’s a lot better than finding your clay hasn’t shrunk in the way you thought it would.
I also anticipate that you have working knowledge of a kiln and know how to programme one or at the very least know someone who does!
How this online workshop works!
- There are 3 projects for you to enjoy. Each project will have its own document to keep this easy for you.
- Each project will have its own depth set of videos to show you all aspects of the construction of each project. The documentation is a partner to this.
- I will list suggested suppliers for tools and clay in this document. I will detail the specific tools needed for each project in their respective documents.
You will learn
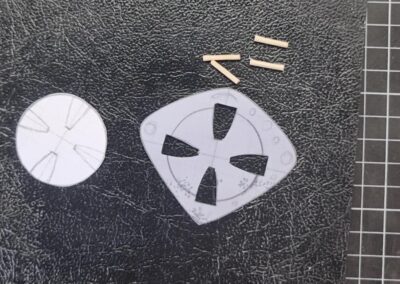
- To understand how important shrinkage is and prepare templates for your design
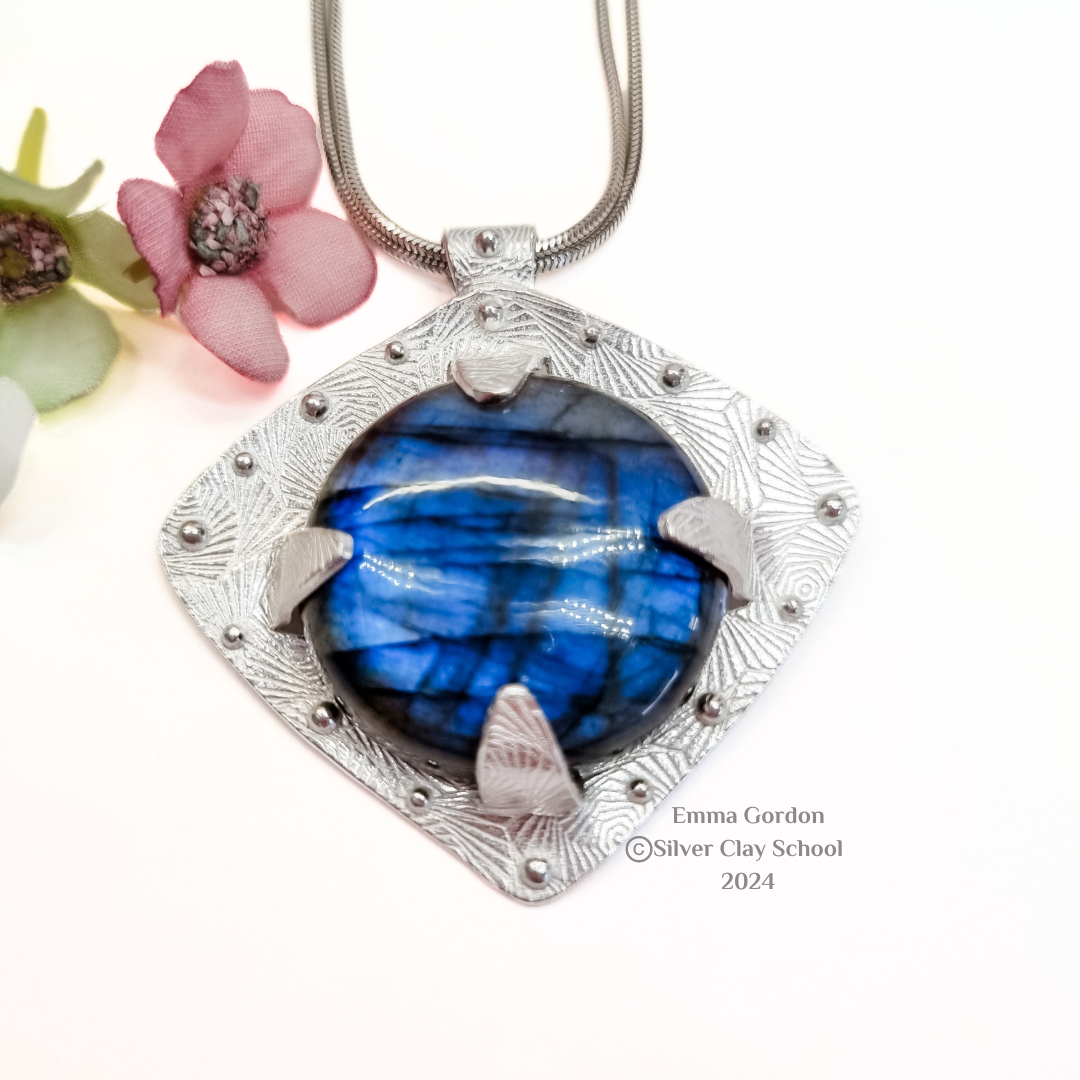
- How to create an integrated silver clay simple tab setting to suit your stone
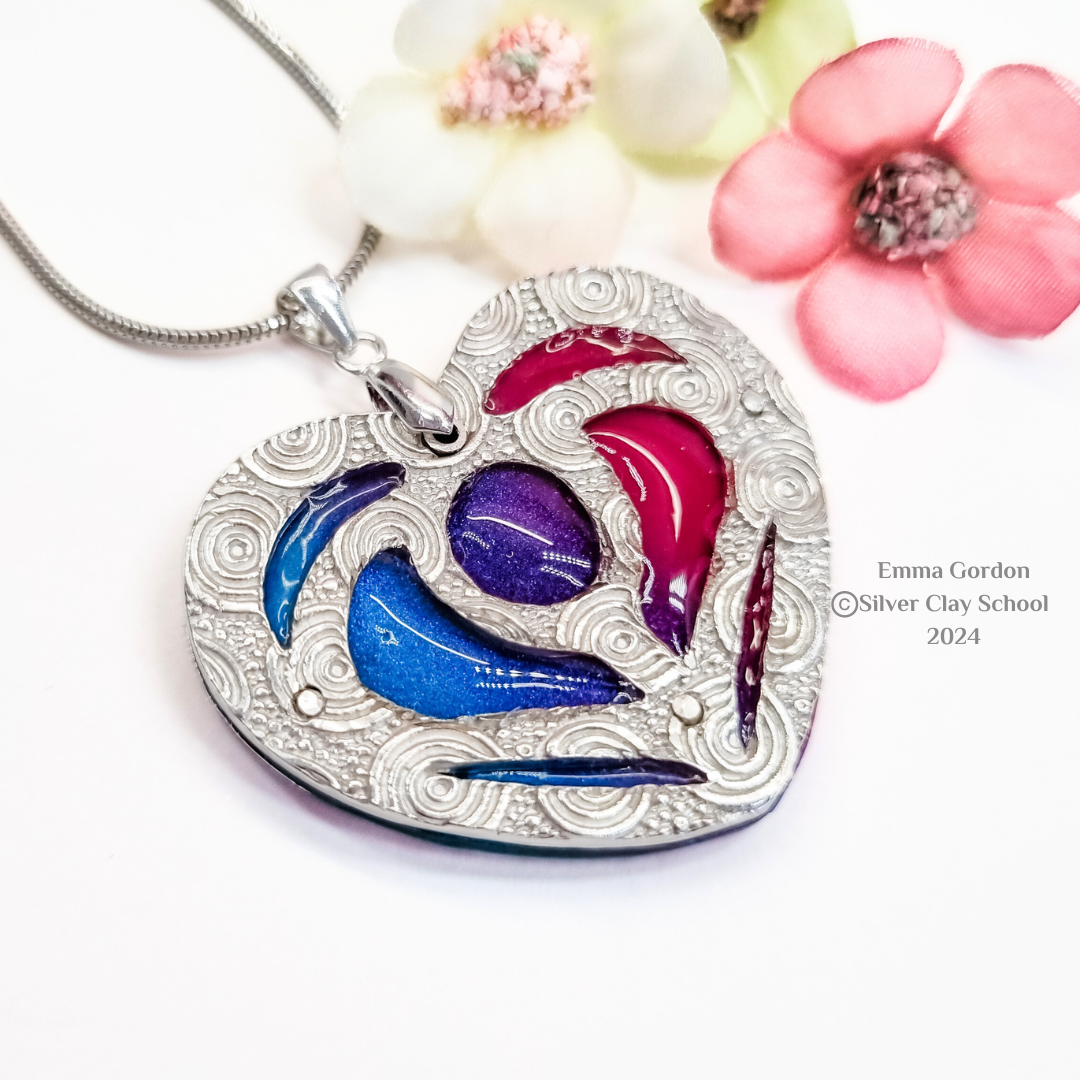
- How to set wire rivets and tube rivets and understanding the key rules when you want to use them successfully
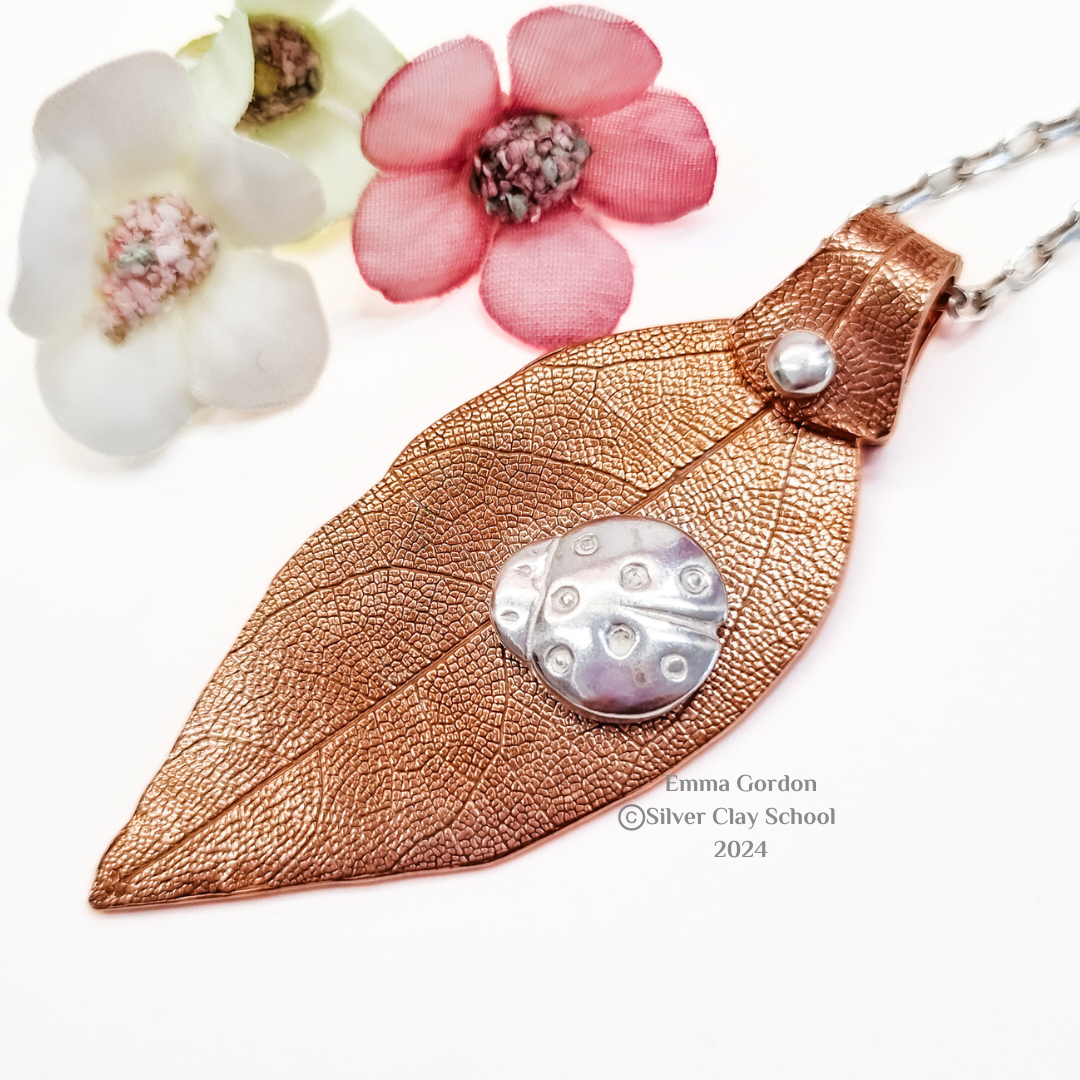
- How to make a decorative silver clay rivet and fix that well
- How to make a riveted bail
- How to make a copper piece and fire properly
I'm thinking polymer clay (one of my favourites), sea glass, oddly shaped gemstone, plastic, perspex, different metals....there's quite a long list.
So what's included in this course? I have three projects for you...
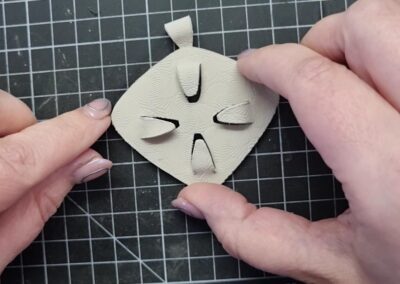
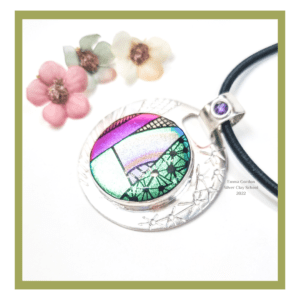
The Integrated Tab Setting- In this project, learn how to create a stone setting with integrated tabs to hold your item in place. You will learn all about how to design with the shrinkage in mind.
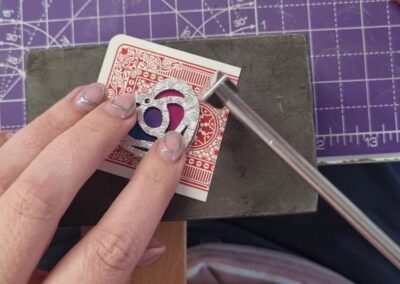
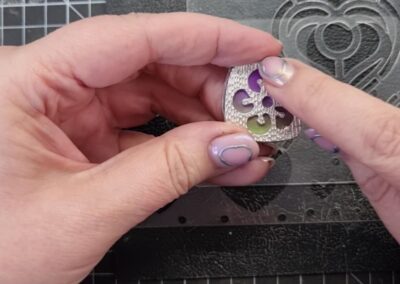
The Riveted Piece- Here we are making a sandwich - of silver clay with a filling of your choice. In this project I have used polymer clay to add an injection of colour (how I did that particular veneer is covered in a bonus project in this module too). You will learn how to rivet with wire rivets and tube rivets.
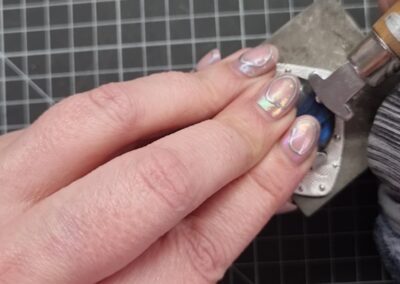
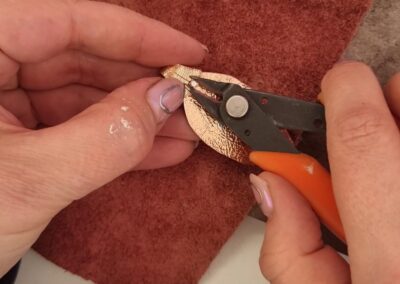
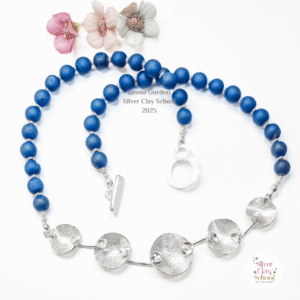
The Silver Clay Rivet - If you fancy making a rivet something more of a statement, then this project is for you - make your own silver clay rivets and set them in a lovely copper piece for a truly gorgeous contrast. But you don't need to go with the copper, you can change that to something else entirely.
Remember, these techniques are just the beginning, you can design them however you like. I'm looking forward to seeing what you make!
