How to achieve a high shine polish by hand on Silver Clay
I am often asked by my students how to achieve a high shine polish on a piece of silver clay. Now for many people, it comes as a surprise that a mirror finish is possible on a piece of silver clay, but it is.
And for the people who want to achieve this or want to achieve a better finish on their silver clay work, I have some tips for you and you can have a look at the wee video I made to accompany this blog too. Watch it here.
Tip 1. Clean your work area thoroughly
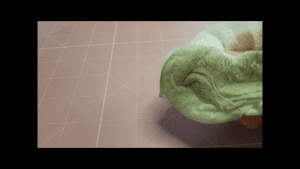 Now I know that this might sound really obvious – but do you do it? I have to be honest and say that I don’t always clean the work mats I use – at least not every time I sit down to work. But I do clean up regularly and there’s a good reason for this. When you sand, carve and work with silver clay there is often a lot of dust and particles that lodge on your work area. And quite often, it’s not very noticeable. However, if you are looking for a really good finish on your work and don’t clean the work area, these little particles can easily be transferred to your clay before you start moulding, cutting or texturing.
I use baby wipes and dry off with some kitchen roll afterwards.
Tip 2. Clean your tools regularly
As with Tip 1 – the same can be said for your tools – especially your roller and slats and anything else that you might lay your clay onto – such as textures and shape templates.
Tip 3. Use fresh clay whenever possible
Fresh clay is the easiest to get a high polish on. It’s in better condition and it’s cleaner. That’s not to say that it’s not possible to get a high shine polish on reconstituted clay because it is, I’ve done it. I’m just saying that it’s a lot easier and quicker (especially for the newbie) to get a high polish on a piece of clay that’s straight out of the packet.
Tip 4. Work through the grits
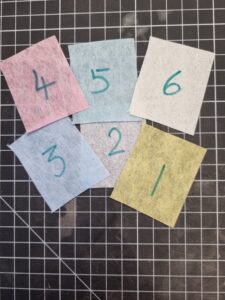 Getting a shine on any piece of silver clay (or metal for that matter) is a matter of patience. You need to start with the coarsest sandpaper and work through the grits until you get to the finest. I use sanding pads and polishing papers, both made by 3M if I decide to manually polish something. The principles are the same for polishing with a rotary tool.
I’d recommend getting some 3M sanding sponges in:
- Superfine
- Ultrafine
- Microfine
These pads are great for general sanding anyway but are fantastic for helping to achieve a high polish. I also use 3M polishing papers, which have a finer grit and you can use them after the sanding sponges. They are coloured for ease of use and the colours are ordered:
- Green
- Grey
- Blue
- Pink
- Aqua
- White
Before I start polishing, I always write the number on the back t ensure I am using them in the right order, otherwise it can get a bit confusing!
These papers can also be used on fired silver but have a separate batch for unfired and fired silver and ensure they don’t get mixed up.
You will most likely have to go through the grits several times to get the finish you are happy with but go through them at least once if you are going for a high polish finish. Make sure your piece is soft and smooth to the touch.
Once you get towards the pink and aqua colours, expect to see some silver on your piece – which means that you are doing a good job!
Tip 5. After polishing burnish with an agate burnisher
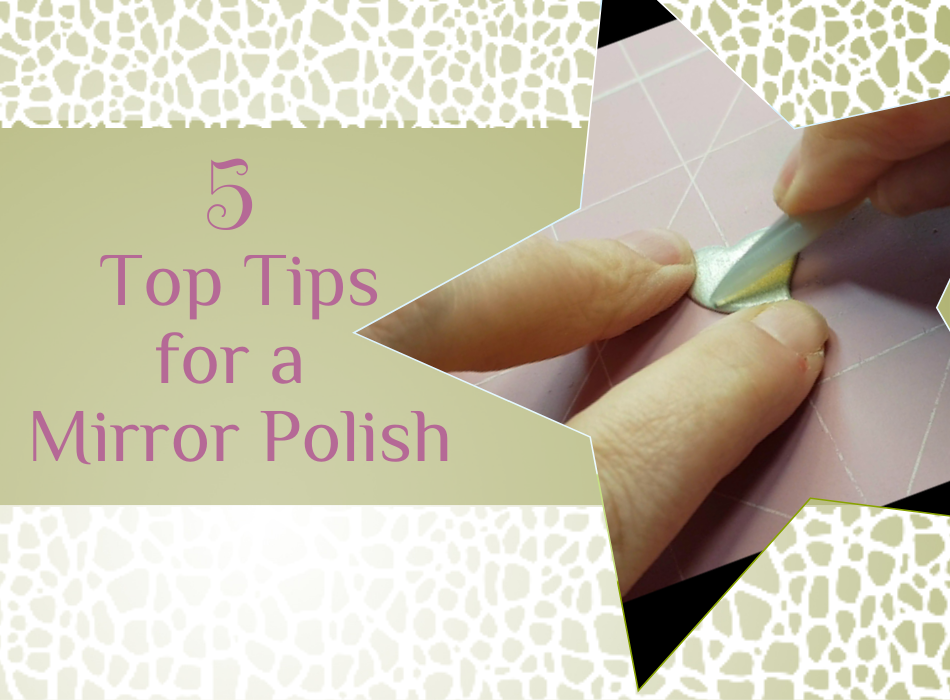
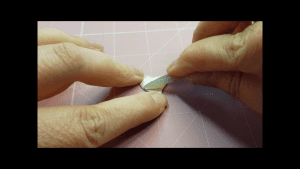 This is the last step in the process. Gently burnish the polish surface with an agate burnisher and the piece will become even more silver in appearance. It’s very reflective and what that enable you to do, is look critically at the surface and see if there are any flaws such as dinks or scratches. If there are, you can start back at the beginning of the process, either with the pads and papers or just with the papers.
Once you have finished, fire and polish as normal. You should find that your piece looks very well finished and will be so easy to polish it to a mirror finish – which you can do by using the polishing papers and working through the grits from green to white again.
Now as a footnote – I do want to say, that not ALL pieces need this amount of finishing. If you have a textured piece, this amount of finishing is, quite frankly, unnecessary. But you can apply the techniques to every one of your silver clay pieces (using the sanding pads only) to ensure that your piece is finished to a high standard.
Until next time
Love, Emma x
P.S. If you want these Top Tips in a handy, downloadable guide – grab it below!

Get your Downloadable Tips to a High Shine Polish Here




0 Comments